How to create and embed 3D images Adding 3D images to your site is easy with our solution. It just takes 3 simple steps:


Limited offer
Cappasity & Photigy
Free lifetime PRO subscription plan ($1200/y value), access to Cappasity’s enterprise clients, and more!
Looking for more software tutorials and guides?
Shoot a high-quality video of your product
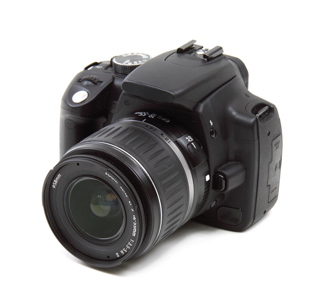
First, decide if you want to shoot imagery yourself, or entrust it to a professional. You’ll need to record a video of 1.2 spins of your object. For high-quality results, we recommend shooting with a 4K digital camera, studio lighting, and a motorized turntable for a smooth 360 spin.
If you don’t have the equipment or experience, you can reach out to our global network of product imaging experts.
Ready to try it yourself? For the best results, first check out our tips for how to shoot high-quality videos using the best equipment and set-up.
Use Easy 3D Scan® software to create a 3D image
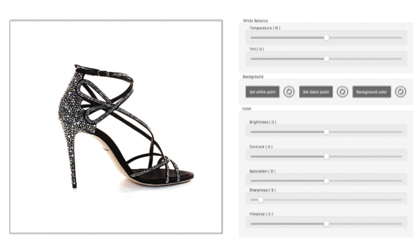
First things first: Do you have a Cappasity account? If not – sign up. Once you have an account, download and install the Easy 3D Scan software, and launch with your username and password. You’re all set! Now you can easily create, edit and upload 3D Views to your account on the Cappasity platform.
Embed your 3D view into your website
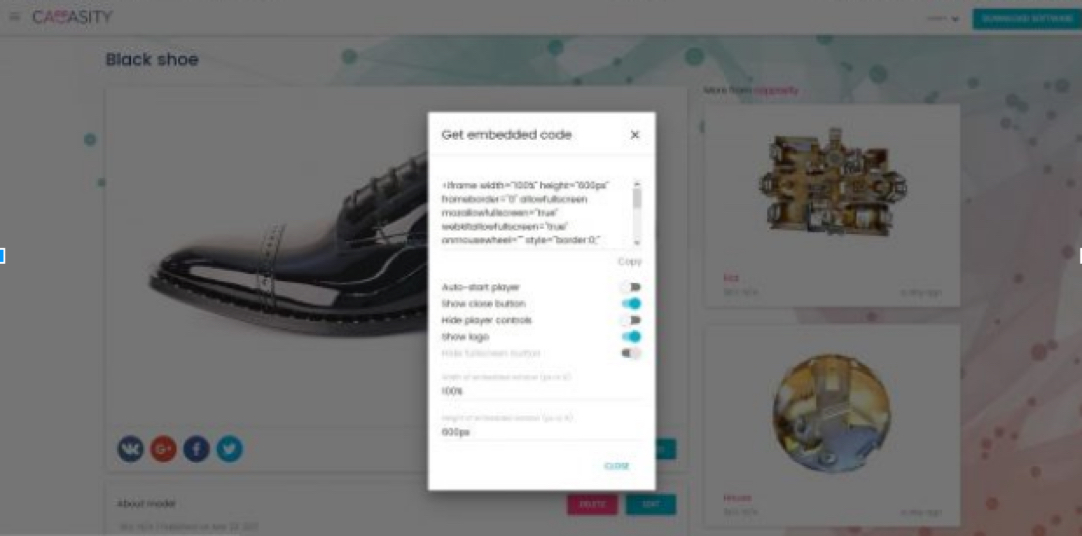
Next, you can embed a 3D View into any website. Go to your Cappasity account and open the 3D View, click the Embed button below the image and copy the embed code. Then paste the code into the web page.
You can also automatically synchronize a product catalog with your Cappasity account using the Cappasity SDK.
Tips for embedding into popular online stores, websites and apps
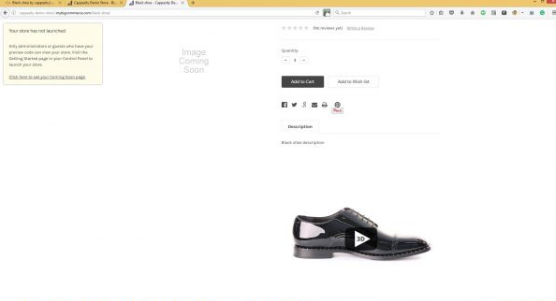
• Select a product from the catalog or add a new one
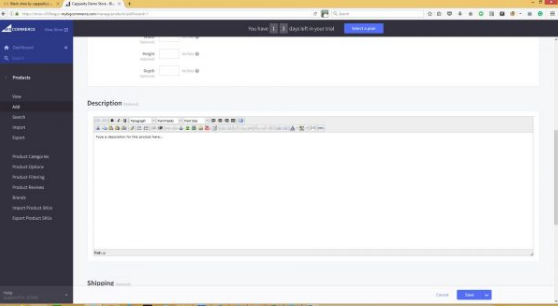
• Click HTML button
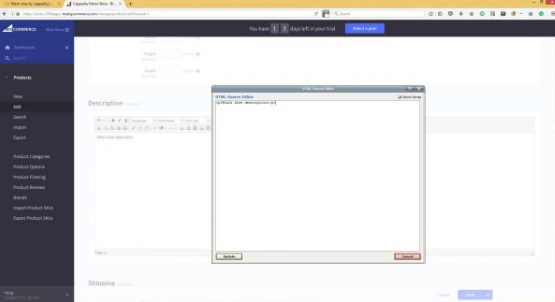
• Copy the iframe code from the Cappasity platform to the clipboard
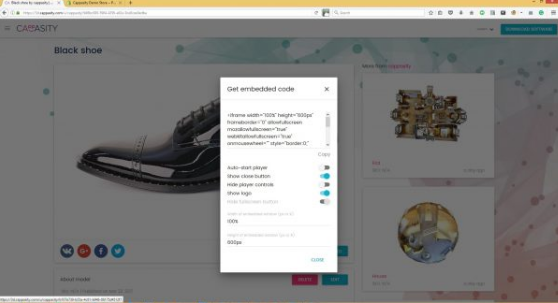
• Paste the iframe code in the text
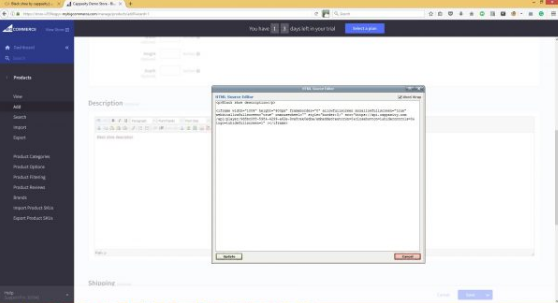
• Click Update. If you have done everything correctly, you will see a yellow rectangle signifying the iframe
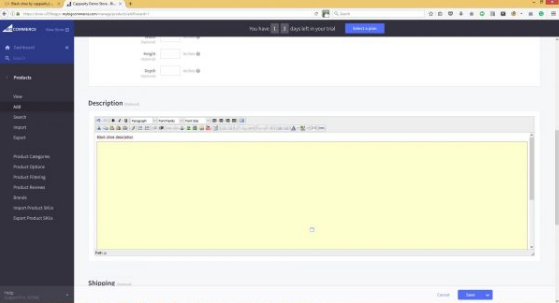
• Click Save. Select View store from the menu on the left
• Select the edited product, and you should see your 3D View in the Description field
PrestaShop Instructions
1. Create and upload a 3D View using the Easy 3D Scan software.
2. Open the 3D View on your account, click “Embed”.
3. Configure and copy the embed code.
4. Add an “Embed & Code” widget in Readymag.
5. Paste the embed code.
Read full tutorial
Cappasity 3D and 360 Viewer app
Sharing 3D Views on social channels
1. Open the 3D View on the Cappasity platform.
2. Click the Facebook icon under the image.
3. Share the 3D View in a post, story or a private message. Or share 3D Views as 360° videos. Read instructions
1. Open the 3D View on the Cappasity platform.
2. Click on the Twitter icon under the image.
3. Share the 3D View in a post or a private message.
1. Open the 3D View on the Cappasity platform.
2. Copy the link and paste it into your message. Or use the Export Video feature to share 3D view as 360° video.
Try it out now
Curious to try an embedded 3D View in your site first? We’ve made it simple with our sample 3D views. Grab one of the code snippets below and embed it into your site, pasting into the HTML or plain text editor just as you would embed a YouTube video. It’s that easy!
3D Product View
3D Product View
3D Apparel View
3D Apparel View
Easy 3D Scan™ video tutorials
How to change the folder for your 3D View files and store them on an external drive
How to create annotations for 3D View
How to shoot jewelry
How to shoot watches in the Cappasity 3D View format
Shooting a model in the Cappasity 3D View format
Find a 3D product photographer
Don’t have a studio? We will find a certified photopgapher in your area who can shoot your products in 3D.
Ready to take your online shopping experience to the next level?
Bring an in-store browsing experience to online retail with Cappasity.


