How to create a video for Facebook using Easy 3D Scan™
Step 1:
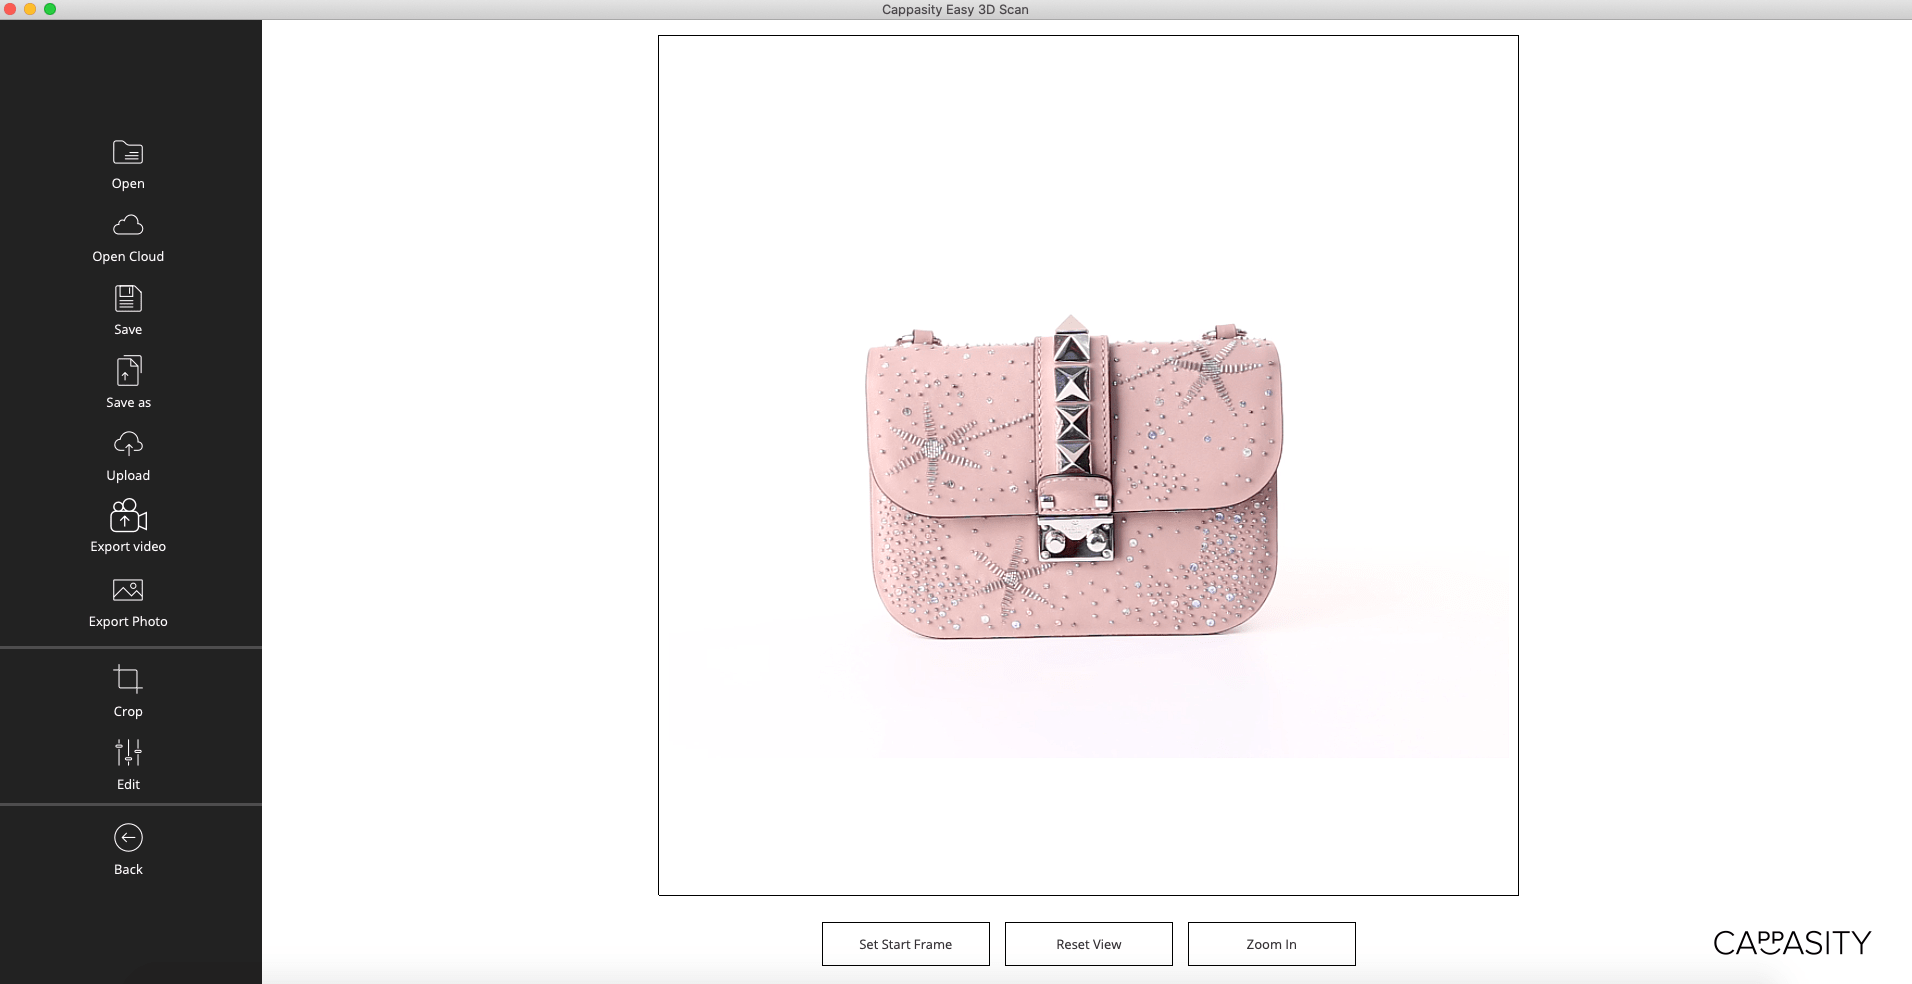
Open a 3D View that you want to convert into video in the Easy 3D Scan software.
Step 2:
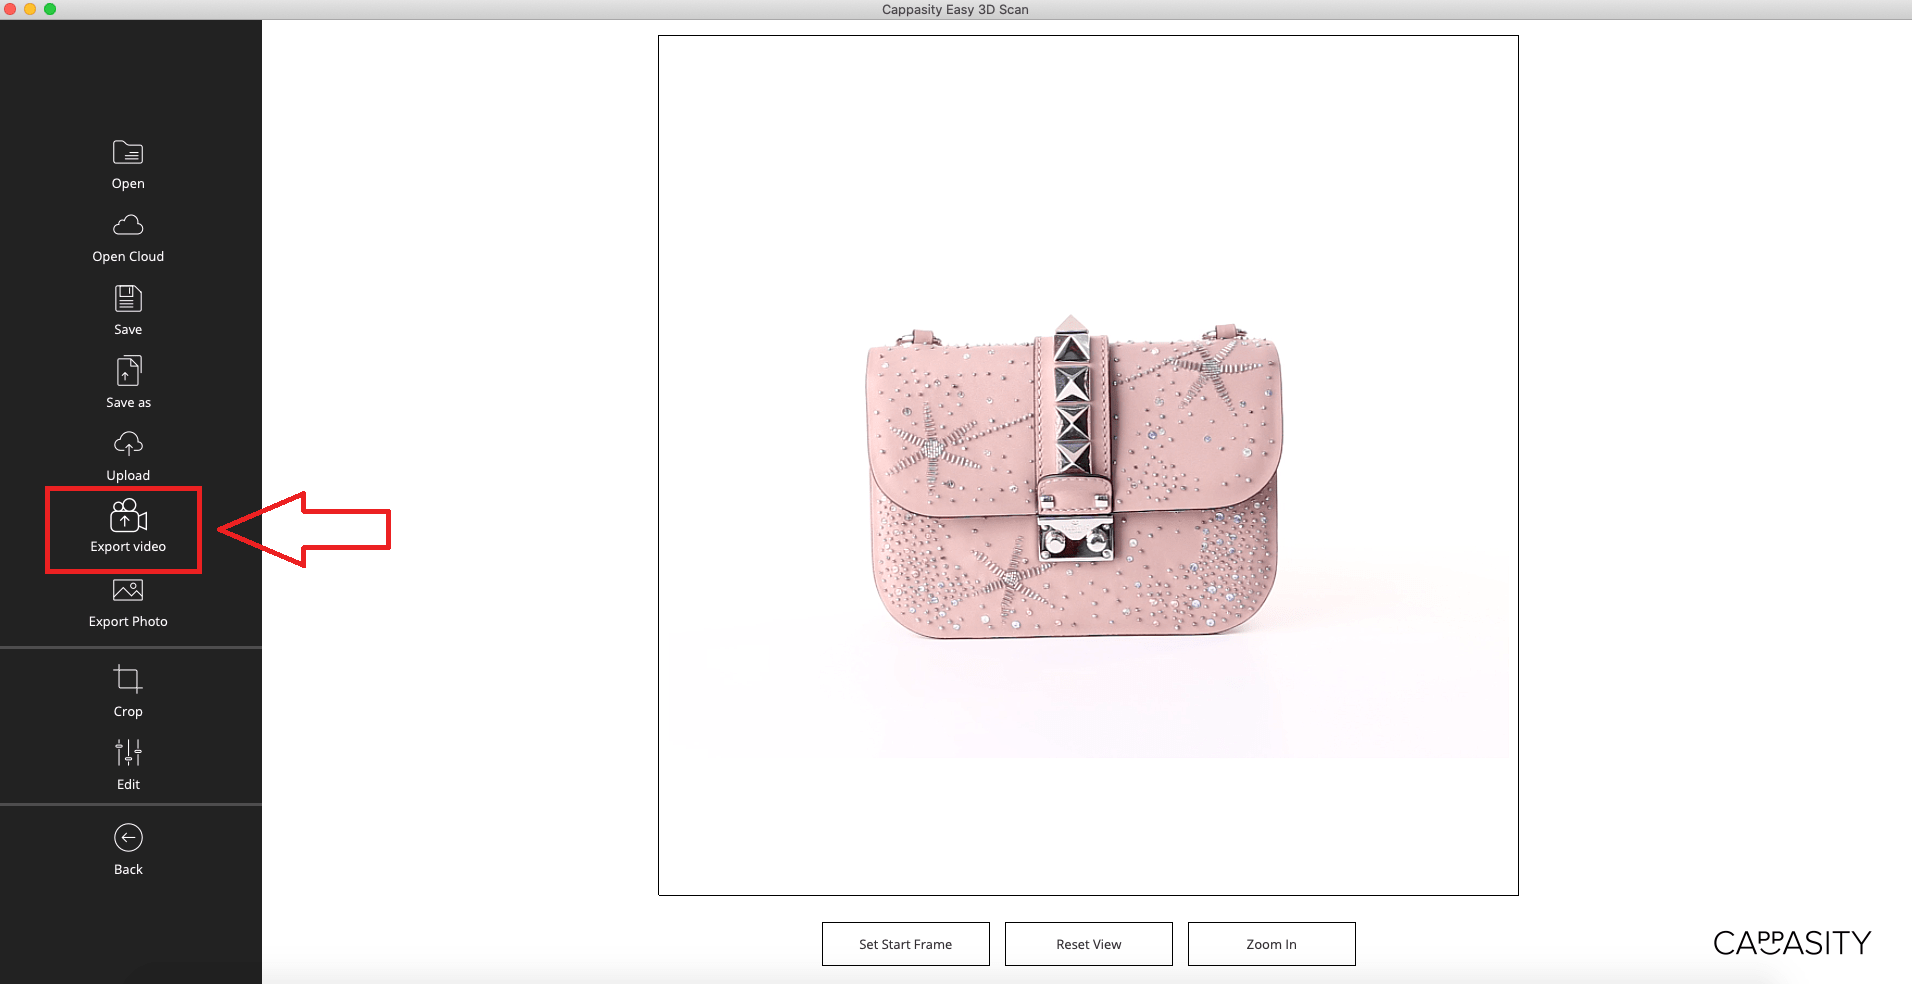
Click on the “Export Video” button.
Step 3:
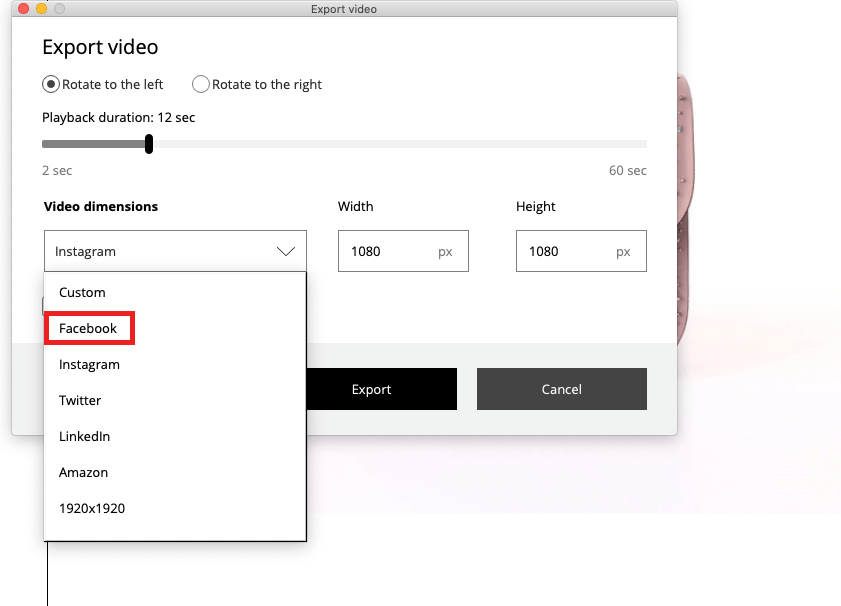
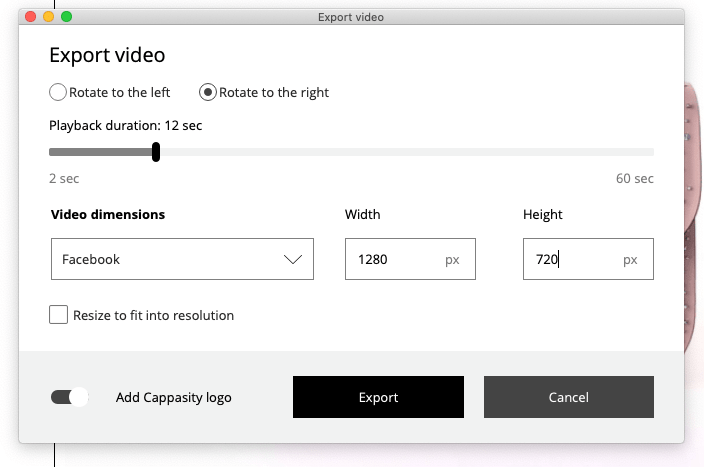
Choose Facebook from the list (parameters must be 1280px/720px)
Step 3.1:
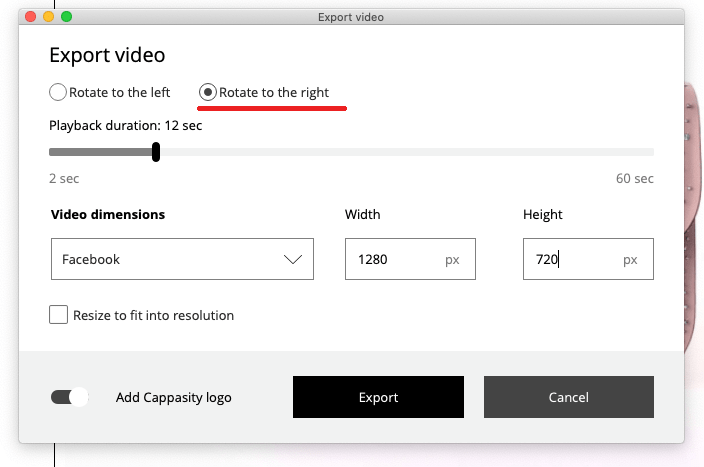
After that, you should choose the direction of the video rotation. By default the rotation is “to the left”. If you want to change the direction of rotation you should choose “Rotate to the right”.
Step 3.2:
You can also choose the video playback duration. The available range is from 2 seconds to 60. By default the length of the video is 12 seconds. During this time a full rotation of the object will be made. This is the optimal speed and we recommend to keep it.
Step 3.3:
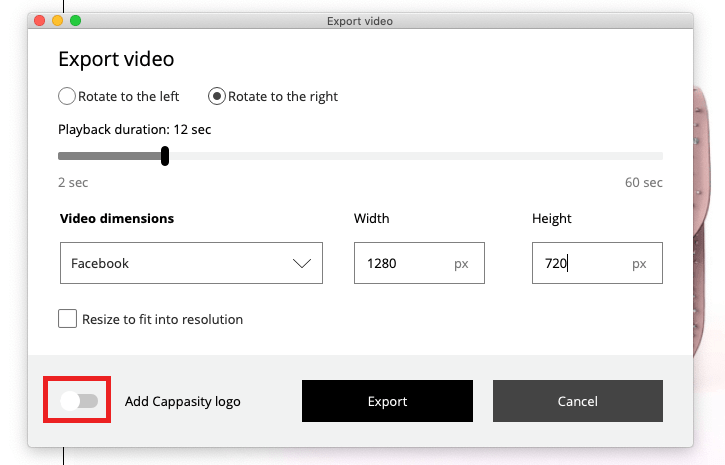
If you don’t want the Cappasity logo to be shown in your video, you should turn off the “Add Cappasity logo” option.
Step 4:
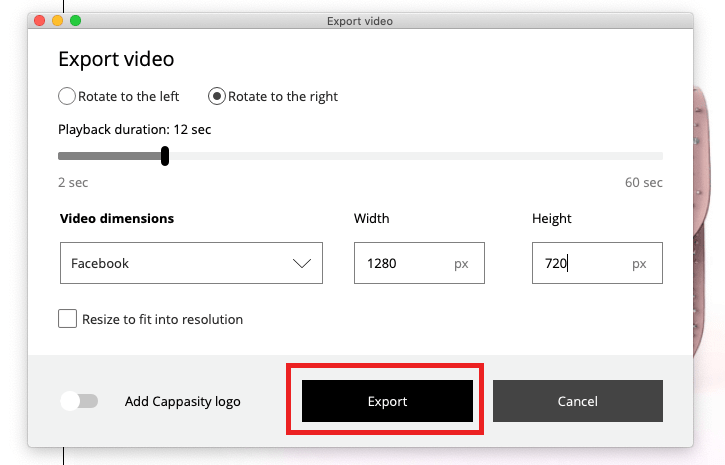
Once you have selected the video settings, click on the “Export” button.
Step 5:
Choose the folder where you want to save the video.
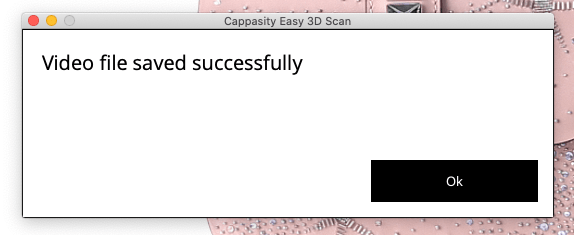
After that the message “Video file saved successfully” must appear on the screen.
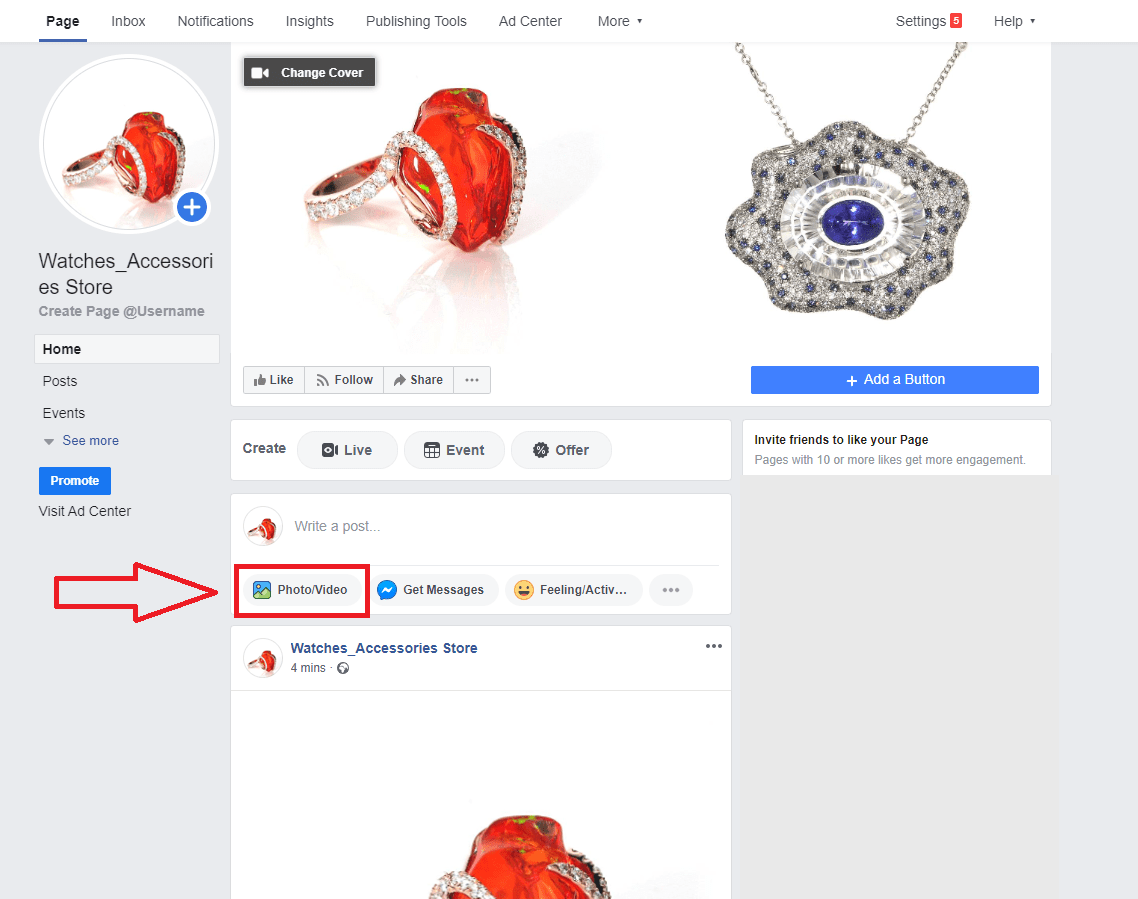
Step 6:
Next you should go to the page, group or event on Facebook and create a new post by clicking the “add photo/video” button.
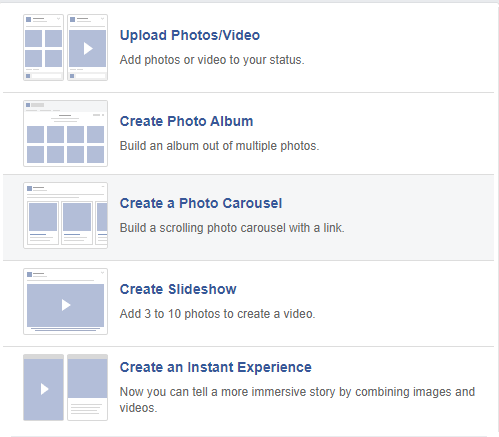
Step 7:
Choose the post type. For example: “Upload Photos/Video”.
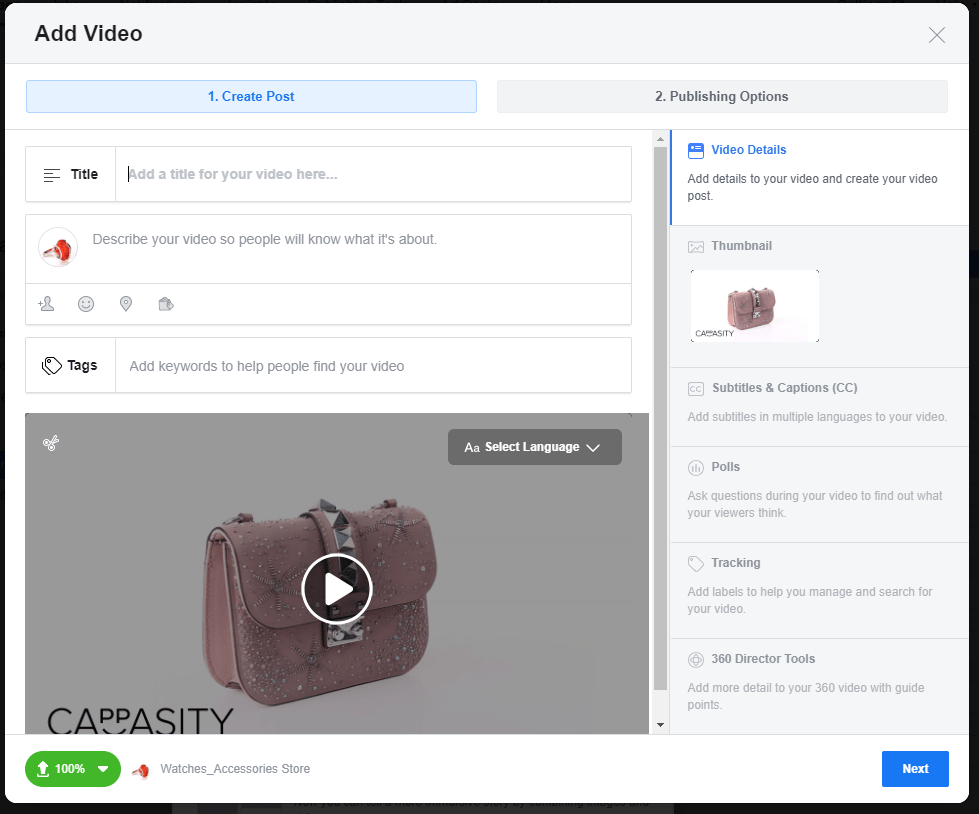
Step 8:
Choose the previously saved video. You can also add description, tags and other information if it’s needed. When you’re done click the “Next” button.
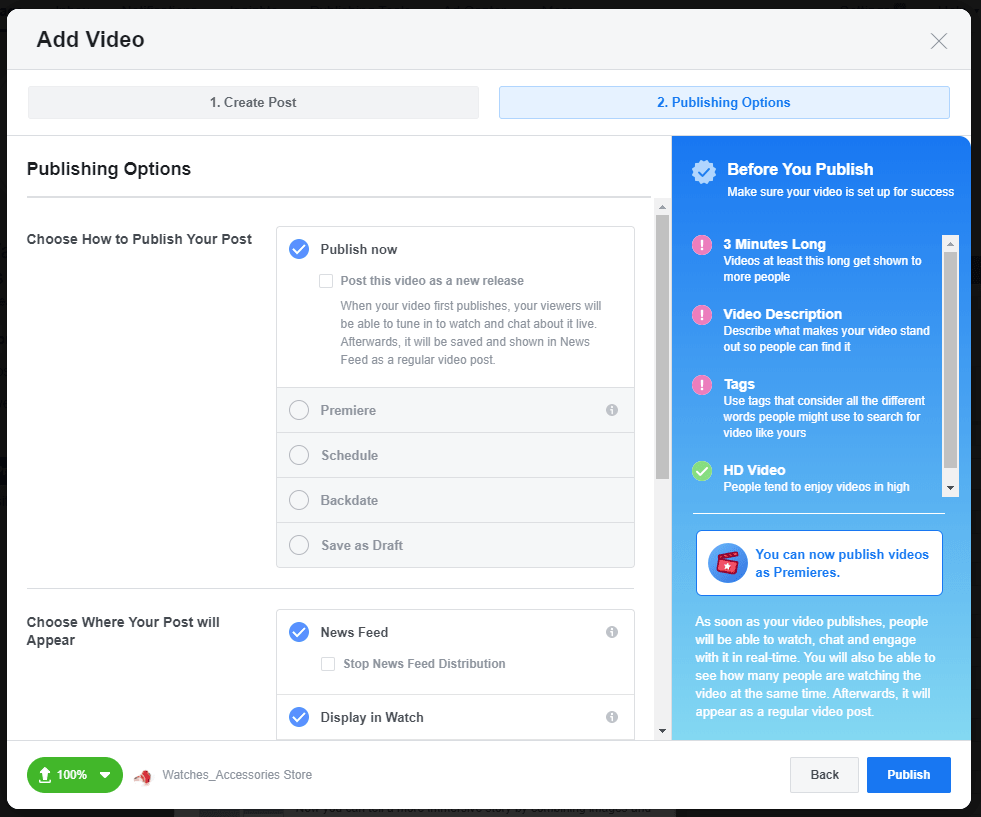
Step 9:
Set the “Publishing options” and click the “Publish” button.
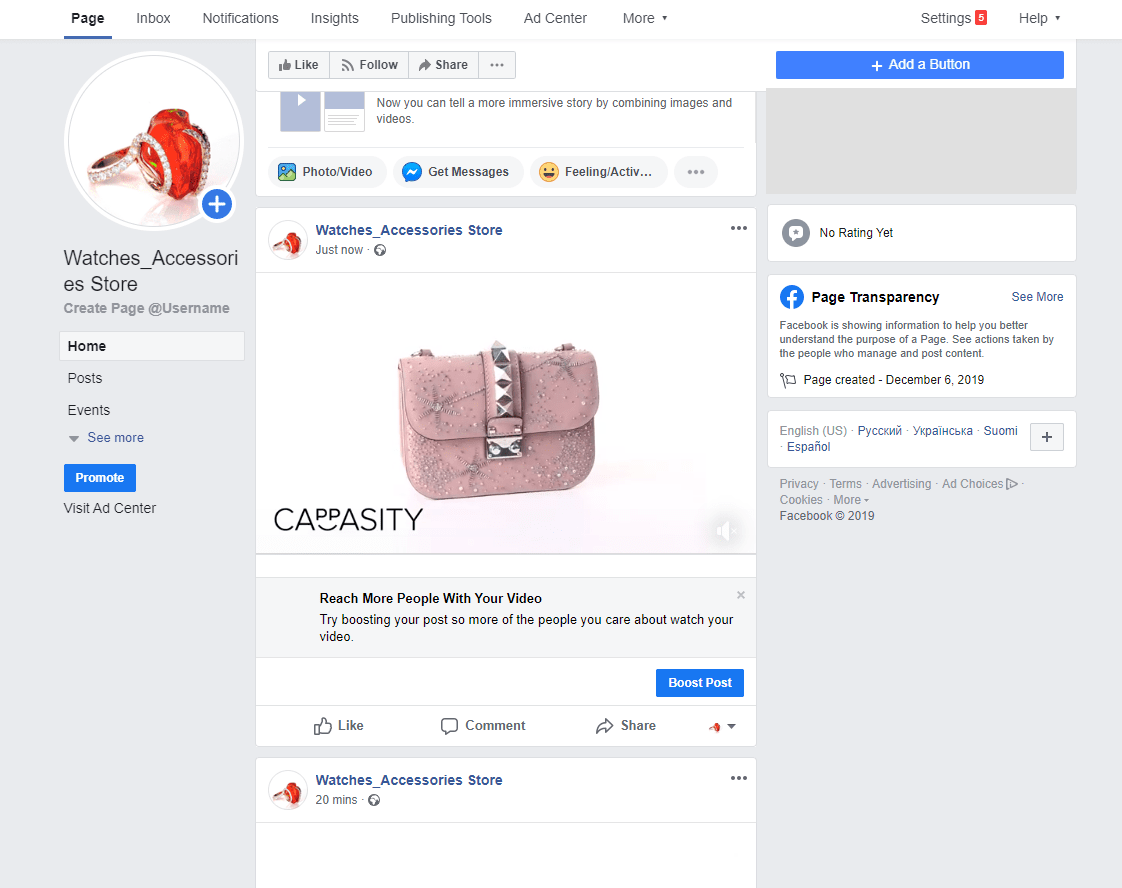
Step 10:
Well done! The post with the video is in your feed now.